
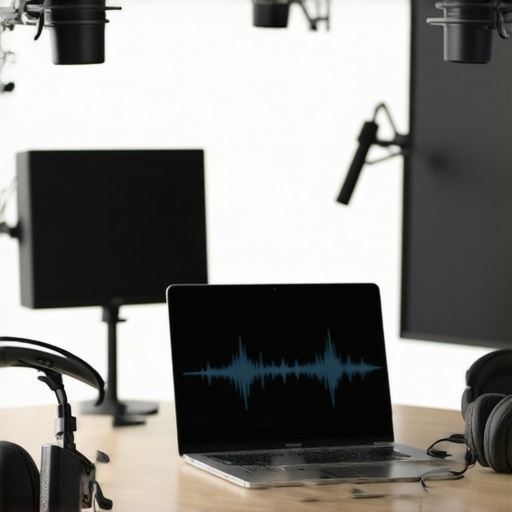
I’ll never forget the crushing disappointment of listening back to my first “professional” podcast interview. I had booked the sleekest, most modern boardroom in the building, thinking the glass walls and minimalist furniture would make me look—and sound—like a titan of industry. Instead, I sounded like I was broadcasting from the bottom of a rusty tin can. It was embarrassing, especially since I was trying to prove that ditching the basement for a professional workspace was the right move for our brand. I learned the hard way that a room designed for the eyes isn’t always designed for the ears. But here is the good news: you don’t need a permanent soundproof booth to get that rich, buttery broadcast sound. Today, I’m going to show you exactly how to flip your standard workspace into a temporary audio sanctuary using tools you probably already have nearby. Have you ever had a perfect take ruined by a siren outside or an annoying hum from the HVAC system? [image_placeholder]
Stop Letting Echo Kill Your Best Ideas
When I first started, I made the classic rookie mistake of thinking that a “quiet” room was enough for a high-quality recording. I ignored the hard surfaces, the parallel walls, and basically the laws of physics. The reality is that sound waves love to bounce off those beautiful floor-to-ceiling windows we all love in innovative meeting rooms. If you do not break those waves, your listeners will be reaching for the volume knob within minutes. Surprisingly, research from the University of Southern California and the Australian National University shows that audio quality significantly impacts how much an audience trusts and likes the person speaking. If your audio is grainy or echoey, you actually sound less credible to your listeners. That’s a high price to pay for a little bit of reverb. To avoid this, you need to apply the acoustics hack for crystal-clear client pitches which translates perfectly to the world of podcasting: soft, porous surfaces are your absolute best friends.
Can a Boring Office Really Sound Like a Professional Studio?
I get it. You look at your standard conference table and see a giant wooden drum ready to reflect every sound. You see the rolling chairs and imagine every tiny squeak being amplified through your expensive microphone. You might be wondering if it is even worth the effort to set up and tear down equipment every time you want to record an episode. The answer is a resounding yes. We aren’t just aiming for a “decent” recording; we are creating a portable system that lets you maintain a professional presence without a permanent studio. It’s about using the unique character of the space you have—even those high-ceiling offices that change how you think—and making them work for your specific technical needs. We are going to solve the echo problem, the background noise problem, and the hardware placement problem all in one go, turning your temporary setup into a powerhouse of content creation.
Hunt for the Softest Room in the Building
Forget the glass-walled “visionary” suites. When you are scouting for a recording spot, you want a space that feels slightly cramped. I once tried to record an episode in a massive, open-concept lounge because the natural light was inspiring; the result was a vocal track that sounded like I was yelling into a canyon. Now, I always vet a meeting room for acoustic privacy before booking, specifically looking for heavy curtains, carpeted floors, and fabric chairs. These materials absorb sound rather than reflecting it. If you are stuck with a standard wooden table, cover it. A simple hoodie or a thick notebook placed under your microphone stand can stop the “table thumping” vibrations from ruining a take. It is about creating an audio shadow where the sound hits a dead end instead of a trampoline.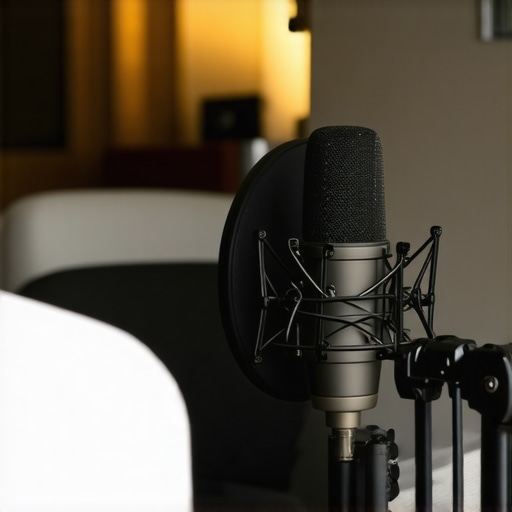
Build Your Own Acoustic Shield on a Budget
You do not need a five-figure isolation booth when you have a couple of chairs and some creativity. During a particularly noisy afternoon at a local hub, I realized the HVAC system was humming right above my desk. I moved into a small corner and used three padded office chairs to form a semi-circle around my setup. This DIY baffle system blocked the direct path of the ambient noise and killed the flutter echo from the wall behind me. This is why boring office furniture is actually a secret weapon; those heavy, fabric-covered dividers are perfect for soaking up stray frequencies. If the room still feels bright—audio-speak for echoey—try the corner method: point your back to a corner and face the rest of the room. Your body and the mic will naturally shield the recording from the harshest reflections.
Control the Environment Before You Hit Record
A professional sound does not just come from your gear; it comes from your ability to dominate the electronics in the room. Before you start, do a 30-second silence test. Put your headphones on, turn the gain up, and just listen. You will be surprised at how many signs a coworking space is too loud for deep work become obvious only when you are looking for them. Is the refrigerator in the communal kitchen humming? Can you hear the elevator? In one session, I spent ten minutes trying to find a chirp in my audio, only to realize it was a digital clock in a windowless meeting room three doors down. Once you identify the culprit, kill it. Unplug the mini-fridge, turn off the wall-mounted TV, and ensure you have vetted the workspace’s internet speed so you aren’t fighting lag while trying to record a remote guest.
The Golden Rule of Mic Placement
The biggest mistake is sitting too far away. If you are more than six inches from your mic, you are recording the room, not your voice. Think of your microphone like a flashlight; the closer the object, the more detail you capture. In a temporary setup, this proximity is your best defense against bad acoustics. By staying close to the capsule, your voice becomes the dominant sound, effectively drowning out the minor echoes of a boardroom that doesn’t feel like a hospital. I have found that using a portable boom arm instead of a desktop stand makes this much easier, as it allows you to stand up while recording—opening your diaphragm and naturally improving your vocal tone.The biggest myth I see in the coworking world is the ‘gear-first’ fallacy. People think buying a five-hundred-dollar Shure SM7B is a magic bullet that will instantly make them sound like Joe Rogan. In reality, a sensitive, high-end microphone in a reflective room is like putting a high-definition lens on a camera in a thick fog; it just captures the mess with more detail. If you haven’t mastered the space first, your expensive equipment will actually amplify the hollow, boxy sound of the room. This is exactly why your pitch fails in a noisy lobby even if you are wearing the best noise-canceling headset on the market. Gear is a multiplier, and if your room acoustics are a zero, your final product is still going to be zero. 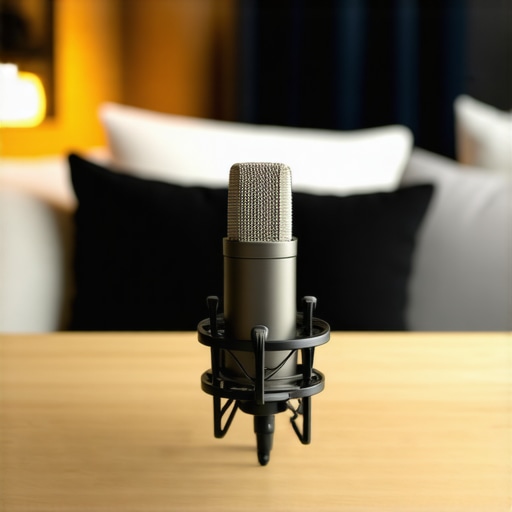
Avoid the Muddy Trap of the Acoustic Phone Booth
Many startups now opt for those sleek, glass-enclosed ‘privacy pods’ for their recordings. On the surface, it seems like a win, but this is a classic ‘oops’ factor for anyone looking for broadcast quality. While these booths are great for the etiquette of taking private calls in a public coworking zone, they are often acoustic nightmares for recording. Because the walls are so close to your mouth, the sound bounces back into the mic almost instantly, creating what engineers call ‘comb filtering.’ It makes your voice sound thin, robotic, and weirdly metallic. Research published by the Acoustical Society of America highlights that in small, untreated parallel-walled enclosures, low-frequency standing waves can make speech intelligibility drop by up to 20%. If you must use a pod, you need to line those glass walls with something—anything—to break the reflection. Even propping up a few thick winter coats against the glass can save your audio.
Why Do Silent Spaces Still Ruin Your Recording Quality?
You might find a room that is perfectly quiet, with no HVAC hum or chatter from the communal kitchen, and yet the recording still sounds ‘muddy.’ This is usually due to low-end buildup. Most innovative meeting rooms focus on aesthetics and light, not bass traps. To fix this, you need to move away from the center of the room. The center is where those nasty sound waves congregate to die. Instead, try the ‘off-axis’ trick: don’t point your microphone directly at a flat wall. Angle yourself and your gear so you are firing into a bookshelf, a cluster of plants, or even a stack of beanbags. When I am trying to how to choose the perfect conference room for business success, I look for these ‘diffusers’—objects that break up sound waves—rather than just looking for silence.
The Stealth Move for Perfect Reflection Control
If you find yourself in a room with a giant whiteboard or floor-to-ceiling windows, your audio is going to suffer from ‘flutter echo.’ This is that high-pitched ‘ping’ sound you hear when you clap your hands. Most people try to fix this in post-production with software, but that is a losing battle. The advanced move is to focus on the ‘first reflection points.’ These are the spots on the walls directly to your left and right where the sound hits first. If you can cover just those two small areas with a foam panel or even a thick scarf, you will improve your audio more than a thousand-dollar software plugin ever could. This is the same logic behind the acoustics hack for crystal-clear client pitches: it’s about controlling the path of the sound, not just the volume. Have you ever fallen into this trap of buying better gear to fix a bad room? Let me know in the comments.
Stop Relying on Post-Production Magic
I have seen too many founders think they can just ‘fix it in the mix.’ They record in a cavernous lobby and then spend six hours trying to use AI tools to remove the reverb. While tools like Adobe Podcast or Descript’s Studio Sound are impressive, they often leave your voice sounding processed and ‘uncanny valley.’ My personal go-to for the heavy lifting is iZotope RX 11. It is the industry standard for spectral repair, allowing you to visually see a siren or a chair squeak and scrub it out without touching your vocal frequencies. However, even with high-end software, you should always aim for a clean signal. This is part of how to maximize productivity in your startup’s conference rooms; if you spend less time editing, you spend more time scaling. I recommend keeping a ‘dry’ recording environment regardless of the tools you use. 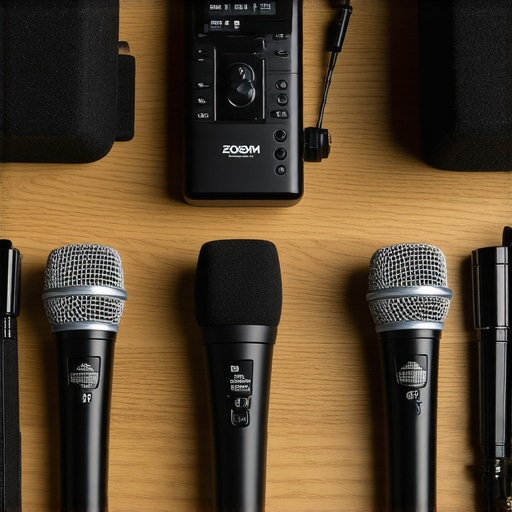
How do I maintain audio consistency as my startup scales?
The secret to long-term results is the ‘Room Profile’ method. Every time I find a space that sounds particularly good, I take a photo of the setup and save a 10-second ‘room tone’ clip. This helps me recreate the environment or match the audio if I have to record a pickup line later. As you grow, you might consider the move from a hot desk to a private suite, which allows you to leave acoustic panels or heavy rugs in place permanently. Consistency is what builds brand trust. If your first five episodes sound like a studio and the sixth sounds like a bathroom, your audience will notice the drop in professionalism immediately.
Scaling Up to a Mobile Studio Setup
When you are ready to move past a simple USB mic, you need to look at the Zoom H6 or the Rodecaster Duo. These devices are portable powerhouses that let you record multiple guests in creative coworking hubs without needing a laptop. According to technical documentation from Shure regarding the ‘proximity effect’ in cardioid microphones, the bass response increases as you move closer to the capsule. I use this to my advantage in thin-walled rooms; by staying about three inches from the mic and turning the gain down, I naturally filter out the background chatter of the office. This is a vital skill when you are trying to find a conference room that actually has working adapters and the right vibe for a high-stakes interview. Looking ahead, the future of conference rooms in startup ecosystems will likely include ‘Audio-First’ design—integrated acoustic baffling and built-in XLR ports. Until then, your ‘gear-in-a-bag’ approach is your best hedge against bad architecture. I challenge you to try the ‘three-chair baffle’ trick during your next recording session and hear the difference for yourself.
Lessons Bought with Hours of Deleted Footage
Over the years, I have realized that even the most expensive equipment cannot save a bad environment. One of the biggest shifts in my workflow was accepting that a “quiet” room is just the starting line, not the finish. I now live by the 30-second silence rule: if you cannot sit in a room for half a minute without hearing a hum, a click, or a distant conversation, neither can your microphone. It is far better to spend twenty minutes scouting for startup success secrets for choosing the perfect conference room than to spend five hours trying to de-noise a clip in post-production. I also learned that consistency is more important than raw quality; your listeners will forgive a slightly dry room more quickly than they will forgive audio that changes volume every five minutes.
[image_placeholder]
Tools and Resources That Earn Their Keep
If you are looking to build a portable kit that rivals a professional studio, there are a few things I never leave home without. First, Auphonic is an absolute necessity for anyone who isn’t a professional audio engineer; it balances levels and handles loudness standards automatically. Second, if you are filming your sessions, do not ignore the visual component. Using the lighting trick that makes your product demo look expensive can actually make the audio feel more professional because the audience perceives a higher overall production value when the video matches the sound. Finally, invest in a set of heavy acoustic blankets or even a foldable reflection filter. These items might be bulky, but they can turn a glass box into a vocal booth in seconds, which is a key part of how to maximize productivity in your startup’s conference rooms by getting it right the first time.
Your Message Deserves a Better Sounding Home
Taking the time to treat your space isn’t just about technical specs; it is about respecting your audience. When you provide clear, crisp audio, you are removing the barriers between your idea and your listener’s brain. As we look at the future of conference rooms in startup ecosystems, I suspect we will see more spaces designed with these acoustic needs in mind from the ground up. Until then, take pride in your DIY setup and the creative ways you solve these problems. You now have the toolkit to sound like a titan of industry, no matter where you are sitting today. Have you ever had a perfect take ruined by a background noise you did not notice until it was too late? Let me know your audio horror stories below!